
Backpack Natalie
CO - cast on
BO - bind off
k - knit
p - purl
st st - stockinette
stitch
m1 - make one
sc - single crochet
You need:
-8 mm needles - US 11
-crochet hook
-DPNs
Also you will need:
-a button
-adjustable shoulder straps from old backpack
-fabric for the lining
-fabric for the lining
I used yarn (50% Merino, 50% Polyester silk and acrylic) in light orange, light pink, dark pink,
grey, and ecru, but you can make your own combination.
I knitted this backpack as a gift for my cousin a few
months ago. I was requested to write a pattern. I wrote it by memories. You may encounter some inaccuracy in the text for which I do apologize in
advance. If you have any questions or recommendation don’t hesitate to contact me, I’ll will reply personally to each one of you.

Pattern:
CO 92 sts using
light orange yarn
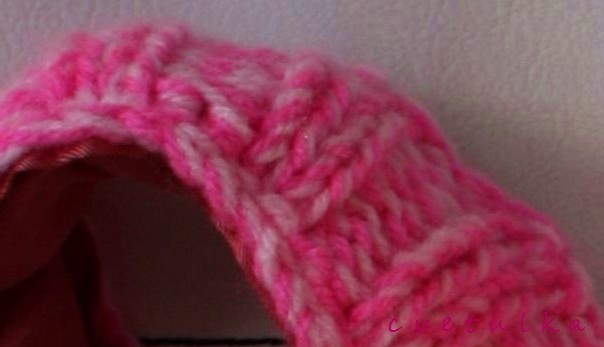
Rows 1-8: (k2, p2)
to the end of the row (if you see a knit, knit it, if you see a purl,
purl it).
Change to light pink yarn.
Row 9: p
Row 10-17: st, st,
start with k (8 rows)
Change to grey yarn.
Row 18-25: st st,
start with k (8 rows)
Change to dark pink yarn.
Rows 26-33: st st,
start with k ( 8 rows)
Change to light pink yarn.
Rows 34-41: st st,
start with k ( 8 rows)
Change to ecru yarn.
Rows 42-49: st st,
start with k ( 8 rows)
Change to grey yarn.
Rows 50-57: st st,
start with k ( 8 rows)
Bind off. This is
the top of the backpack.
Backpack flap
CO 5 sts using
orange yarn.
Row 1: p
Row 2: k1, m1, k to
last st, m1, k1 ( 7 sts)
Row 3: p
Row 4: k1, m1, k to
last st, m1, k1 (9 sts)
Repeat rows 2 and 3
till you get 15 sts.
Knit 25 rows
totally. Bind off.

Using grey yarn and crochet hook, sc (single crochet)
in each stitch and end of row around the end of the flap. Weave in ends.
Bottom:
CO 34 sts, using
orange yarn
Row 1: p
Row 2: k
Continue stockinette stitch, till you get desired
width of the bottom of the backpack. BO.
Into bottom of the backpack I have sewn transparent
painting plate,
also you can use waterproof millboard or appropriate plastic
material.
Shoulder-straps:
I made the handles CO about 50 sts using dark pink yarn, work (k2, p2) to
the end of the row. Repeat this, till you get desired width. I made 10 rows, but
you can knit more, depends on your wish. Bind off.

Also, I made two triangles, using dark pink yarn. I have
sewn them on the base where handles get together (diagram shows the back side of the backpack).
Using double pointed needles
and dark pink yarn knit a long i-cord. Sew rings on the top of the backpack,
where knitted i-cord passes ( the rings I used are window-curtain hangers).
Make two big pom-poms, pull the i-cord through the rings and then attach the
pom-poms. HERE you can see how to make pom-poms.


Sew all parts of the backpack
together, use my photos as tutorial. If you have old backpack, you don’t use
anymore cut the end of the handles (the adjustable shoulder straps) and
sew them to the knitted one. Make the lining from fabric, inside make a small cell
phone pocket. Also sew fabric inside the handles, be careful, fabric don’t have
to be slippery.

This pattern is for personal use, knitting pleasure and fun.You are not permitted to sell whole or part of it.